Mini Animal Cracker Cookies – Fun & Easy Zoo Treats
Warning: Undefined variable $post in /home/recipestorm.com/public_html/wp-content/themes/restored316-limoncella/functions.php on line 143
Mini Animal Cracker Cookies are the ultimate bite-sized delight that will transport you straight back to childhood with every single munch. Remember those delightful little animal crackers, perfectly seasoned and just begging to be dipped? Well, we’ve taken that nostalgic joy and elevated it into a tender, chewy cookie that captures that same beloved flavor profile. What makes these Mini Animal Cracker Cookies so special? It’s their irresistible charm and perfectly balanced sweetness, reminiscent of the classic snack but with a delightful homemade twist. They’re incredibly easy to whip up, making them an ideal activity for a rainy afternoon or a fun baking project with the kids. Get ready to discover your new favorite treat; these Mini Animal Cracker Cookies are guaranteed to disappear in a flash!
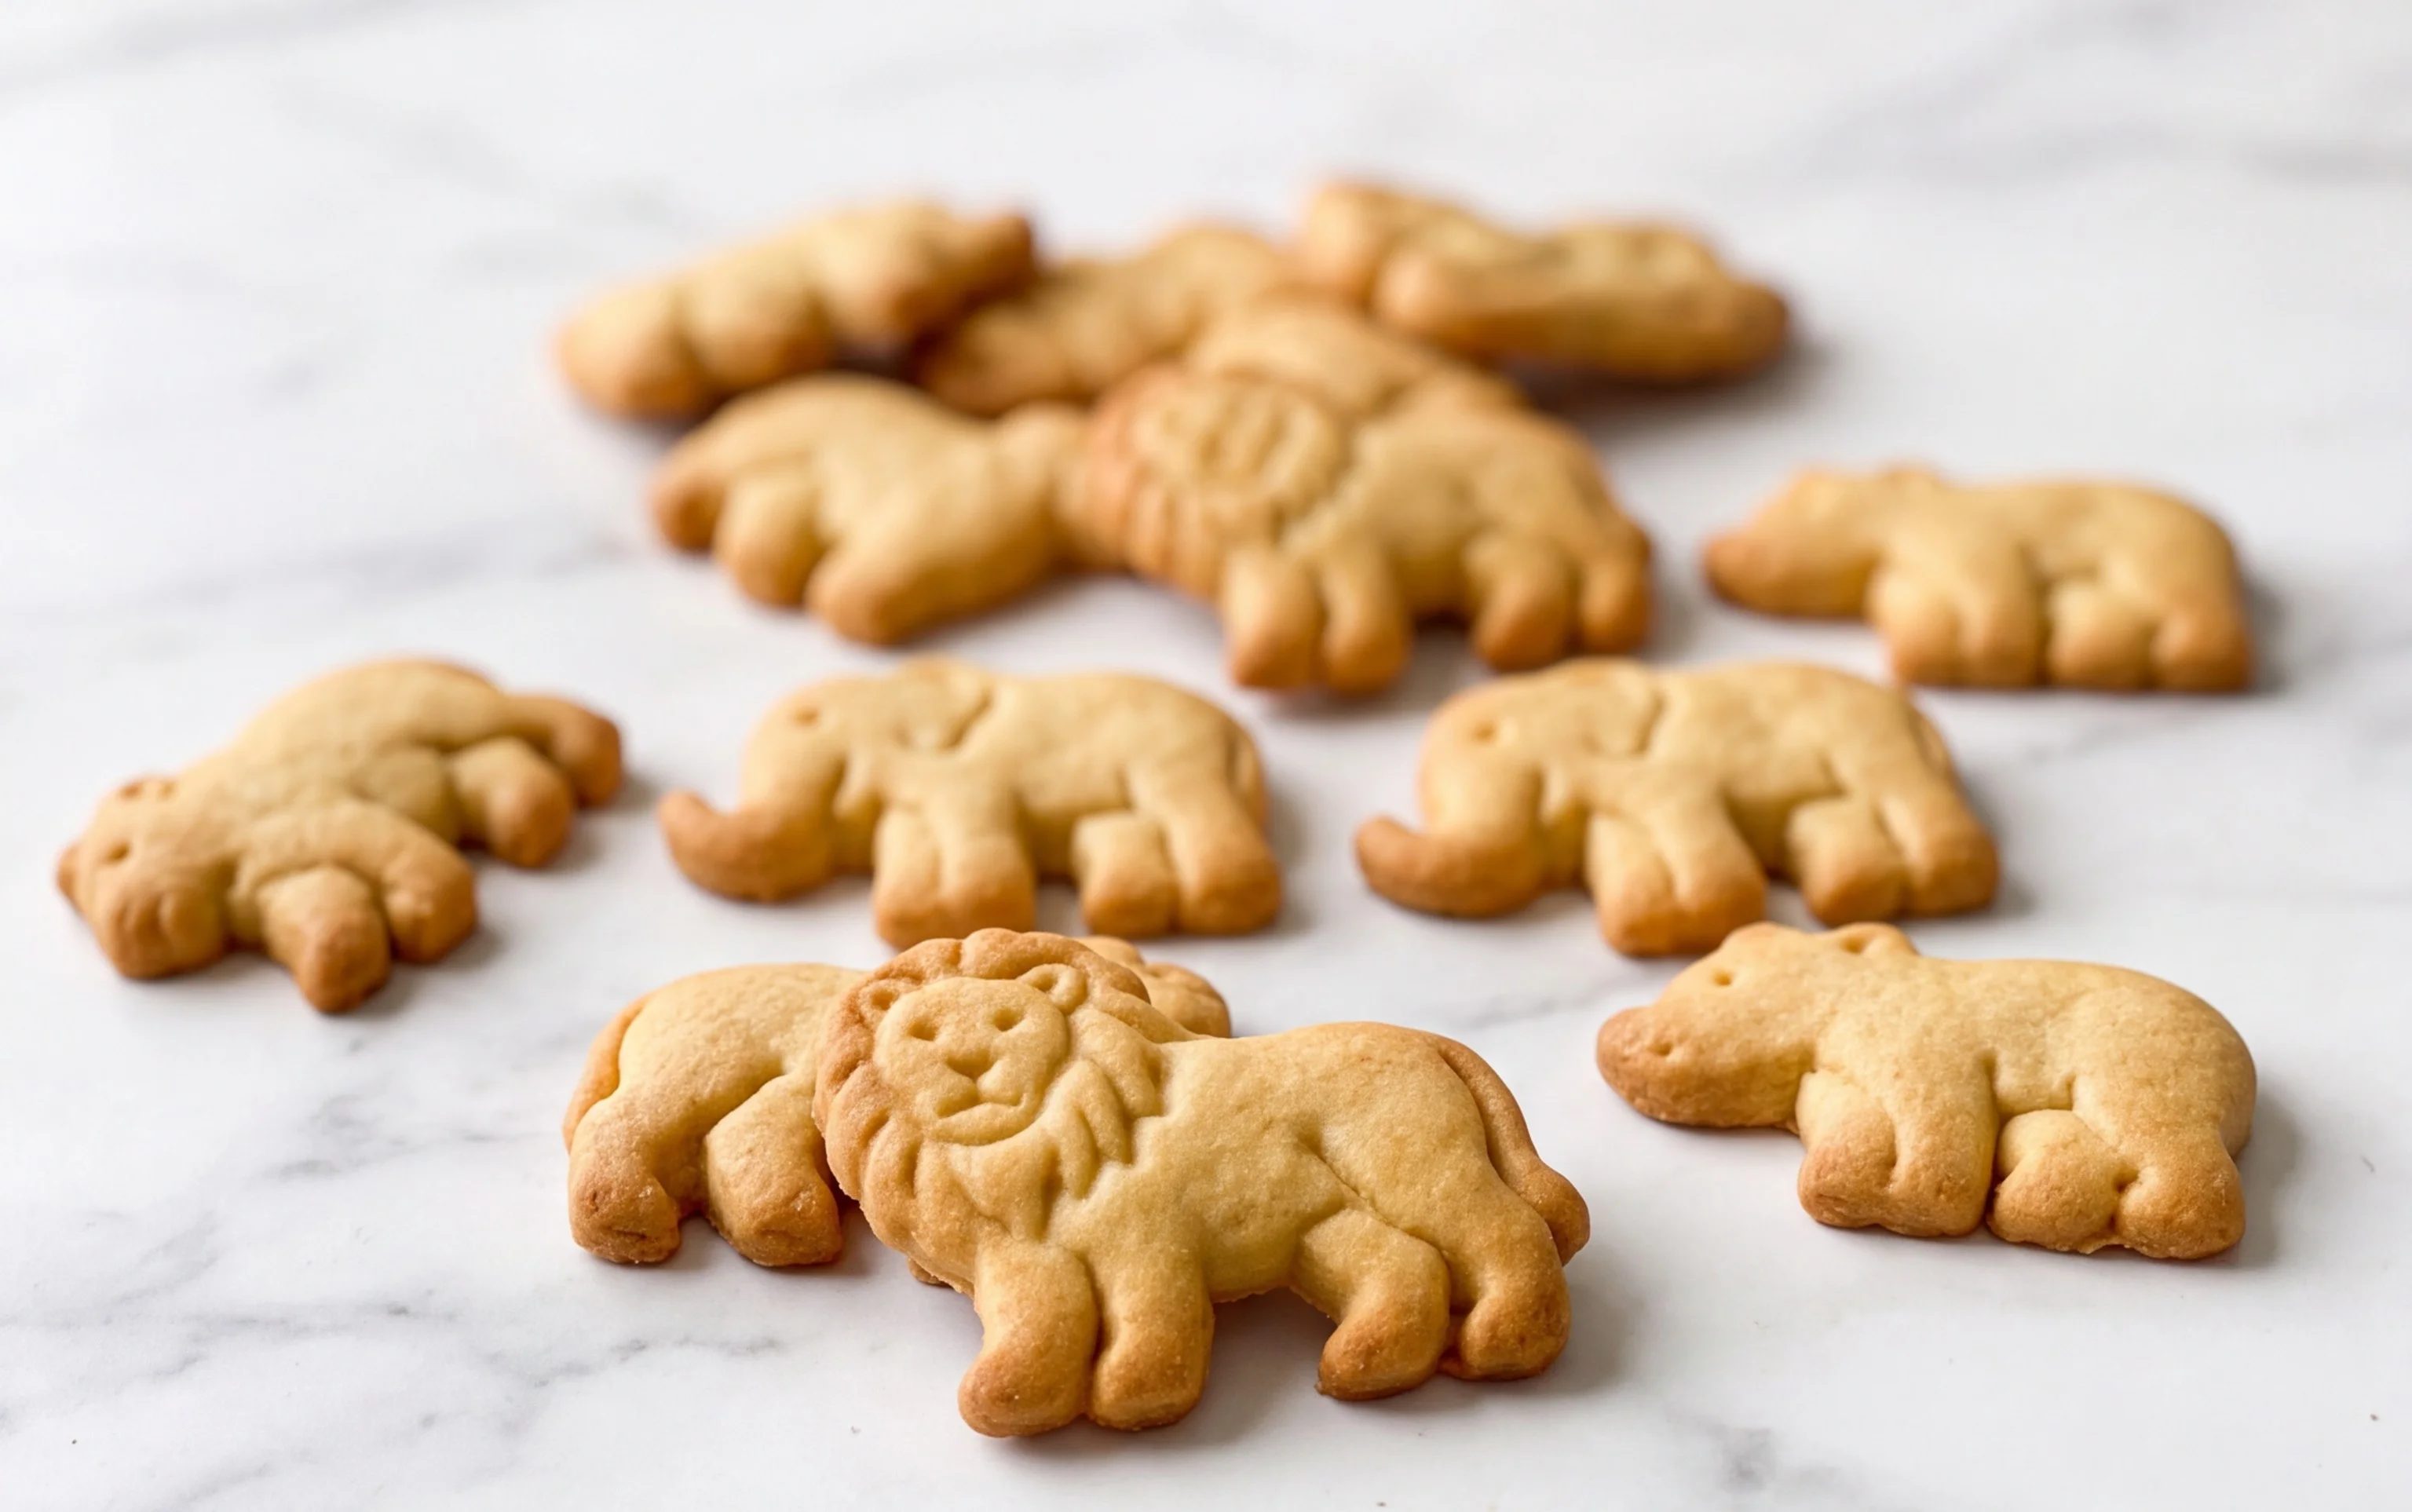
Mini Animal Cracker Cookies
These mini animal cracker cookies are a delightful treat that brings back childhood memories with every bite. They’re perfectly crisp, subtly sweet, and surprisingly easy to make. The fun comes in decorating them to resemble your favorite zoo critters! Whether you’re baking for a party, a special occasion, or just to brighten up an ordinary afternoon, these cookies are sure to be a hit. The texture is wonderfully reminiscent of the classic animal crackers we all know and love, but with the satisfying crunch of a homemade cookie. Let’s get baking!
Ingredients:
- 2 and 1/4 cups (281g) all-purpose flour (spooned & leveled), plus more as needed for rolling and work surface
- 1 teaspoon ground cinnamon
- 1/2 teaspoon baking powder
- 1/4 teaspoon salt
- 3/4 cup (12 Tbsp; 170g) unsalted butter, softened to room temperature
- 3/4 cup (150g) granulated sugar
- 1 large egg, at room temperature
- 1 and 1/2 teaspoons pure vanilla extract
- Royal Icing or Easy Cookie Icing
- optional: food coloring*
- rainbow sprinkles
Creating the Cookie Dough
The foundation of any great cookie is a well-made dough. We’ll start by whisking together our dry ingredients. In a medium bowl, combine the all-purpose flour, ground cinnamon, baking powder, and salt. Whisk them together thoroughly to ensure the leavening and salt are evenly distributed throughout the flour. This step is crucial for consistent cookie rise and flavor. Set this dry mixture aside for now.
Next, in a large mixing bowl, we’ll cream together the softened butter and granulated sugar. It’s important that your butter is truly softened to room temperature – not melted! This allows it to incorporate air with the sugar, creating a lighter and more tender cookie. Beat them together with an electric mixer (or by hand if you’re feeling ambitious!) until the mixture is light and fluffy, about 2-3 minutes. This creaming process is where a lot of the cookie’s structure and tenderness originate.
Once the butter and sugar are beautifully creamy, add the large egg and pure vanilla extract. Beat again until everything is well combined and smooth. The egg acts as a binder, holding the cookie together, while the vanilla extract provides that classic, comforting aroma and taste. Make sure to scrape down the sides of the bowl a couple of times during this process to ensure all ingredients are fully incorporated.
Now, it’s time to introduce the dry ingredients to the wet. Gradually add the flour mixture to the butter mixture, mixing on low speed (or stirring by hand) until just combined. Be careful not to overmix the dough at this stage. Overmixing can develop the gluten in the flour too much, resulting in tough cookies. We’re looking for a dough that just comes together, and if it seems a little dry, you can add another tablespoon of flour at a time until it forms a cohesive ball.
Chilling and Rolling the Dough
Once the dough is formed, it’s essential to chill it. Divide the dough in half, shape each half into a disc, wrap them tightly in plastic wrap, and refrigerate for at least 1 hour, or preferably 2 hours. Chilling the dough solidifies the fat, making it much easier to roll out without sticking and preventing the cookies from spreading too much during baking. This step is a game-changer for achieving those perfect, crisp shapes.
When you’re ready to bake, preheat your oven to 350°F (175°C) and line baking sheets with parchment paper. This prevents sticking and makes for easy cleanup. Lightly flour your work surface and a rolling pin. Take one disc of chilled dough out of the refrigerator. Roll it out to about 1/4 inch thickness. If the dough becomes too soft to handle, pop it back in the fridge for a few minutes. You’ll want to work relatively quickly so it doesn’t get too sticky.
Cutting and Baking
Now for the fun part: cutting out your animal shapes! You’ll need small animal-shaped cookie cutters for this. Press the cutters firmly into the rolled-out dough and gently lift away the excess dough. Carefully transfer the cut-out cookies to your prepared baking sheets, leaving a little space between them as they might spread slightly. Gather the scraps, re-roll them, and cut out more cookies until all the dough is used. Don’t worry if the shapes aren’t perfect; that’s part of their charm!
Bake the cookies for 8-10 minutes, or until the edges are lightly golden brown and the centers are set. The exact baking time will depend on the size and thickness of your cookies. Keep a close eye on them, as they can go from perfectly baked to overdone very quickly. Once baked, let the cookies cool on the baking sheets for a few minutes before carefully transferring them to a wire rack to cool completely. They need to be completely cool before decorating.
Decorating Your Critters
Once your mini animal cracker cookies are completely cooled, it’s time to bring them to life with decoration! This is where you can get as creative as you like. Prepare your royal icing or easy cookie icing according to package directions. If you’re using food coloring, divide the icing into small bowls and tint each with a different color.
Using a piping bag with a small round tip, or even just a spoon or a toothpick, carefully outline and fill in the shapes of your animal cookies. For example, use brown icing for bears, yellow for lions, and pink for pigs. Don’t worry about perfection; a slightly whimsical look is part of the charm! While the icing is still wet, sprinkle them with rainbow sprinkles to add a festive touch. Let the icing dry completely before stacking or storing the cookies. Enjoy your adorable and delicious homemade animal cracker cookies!
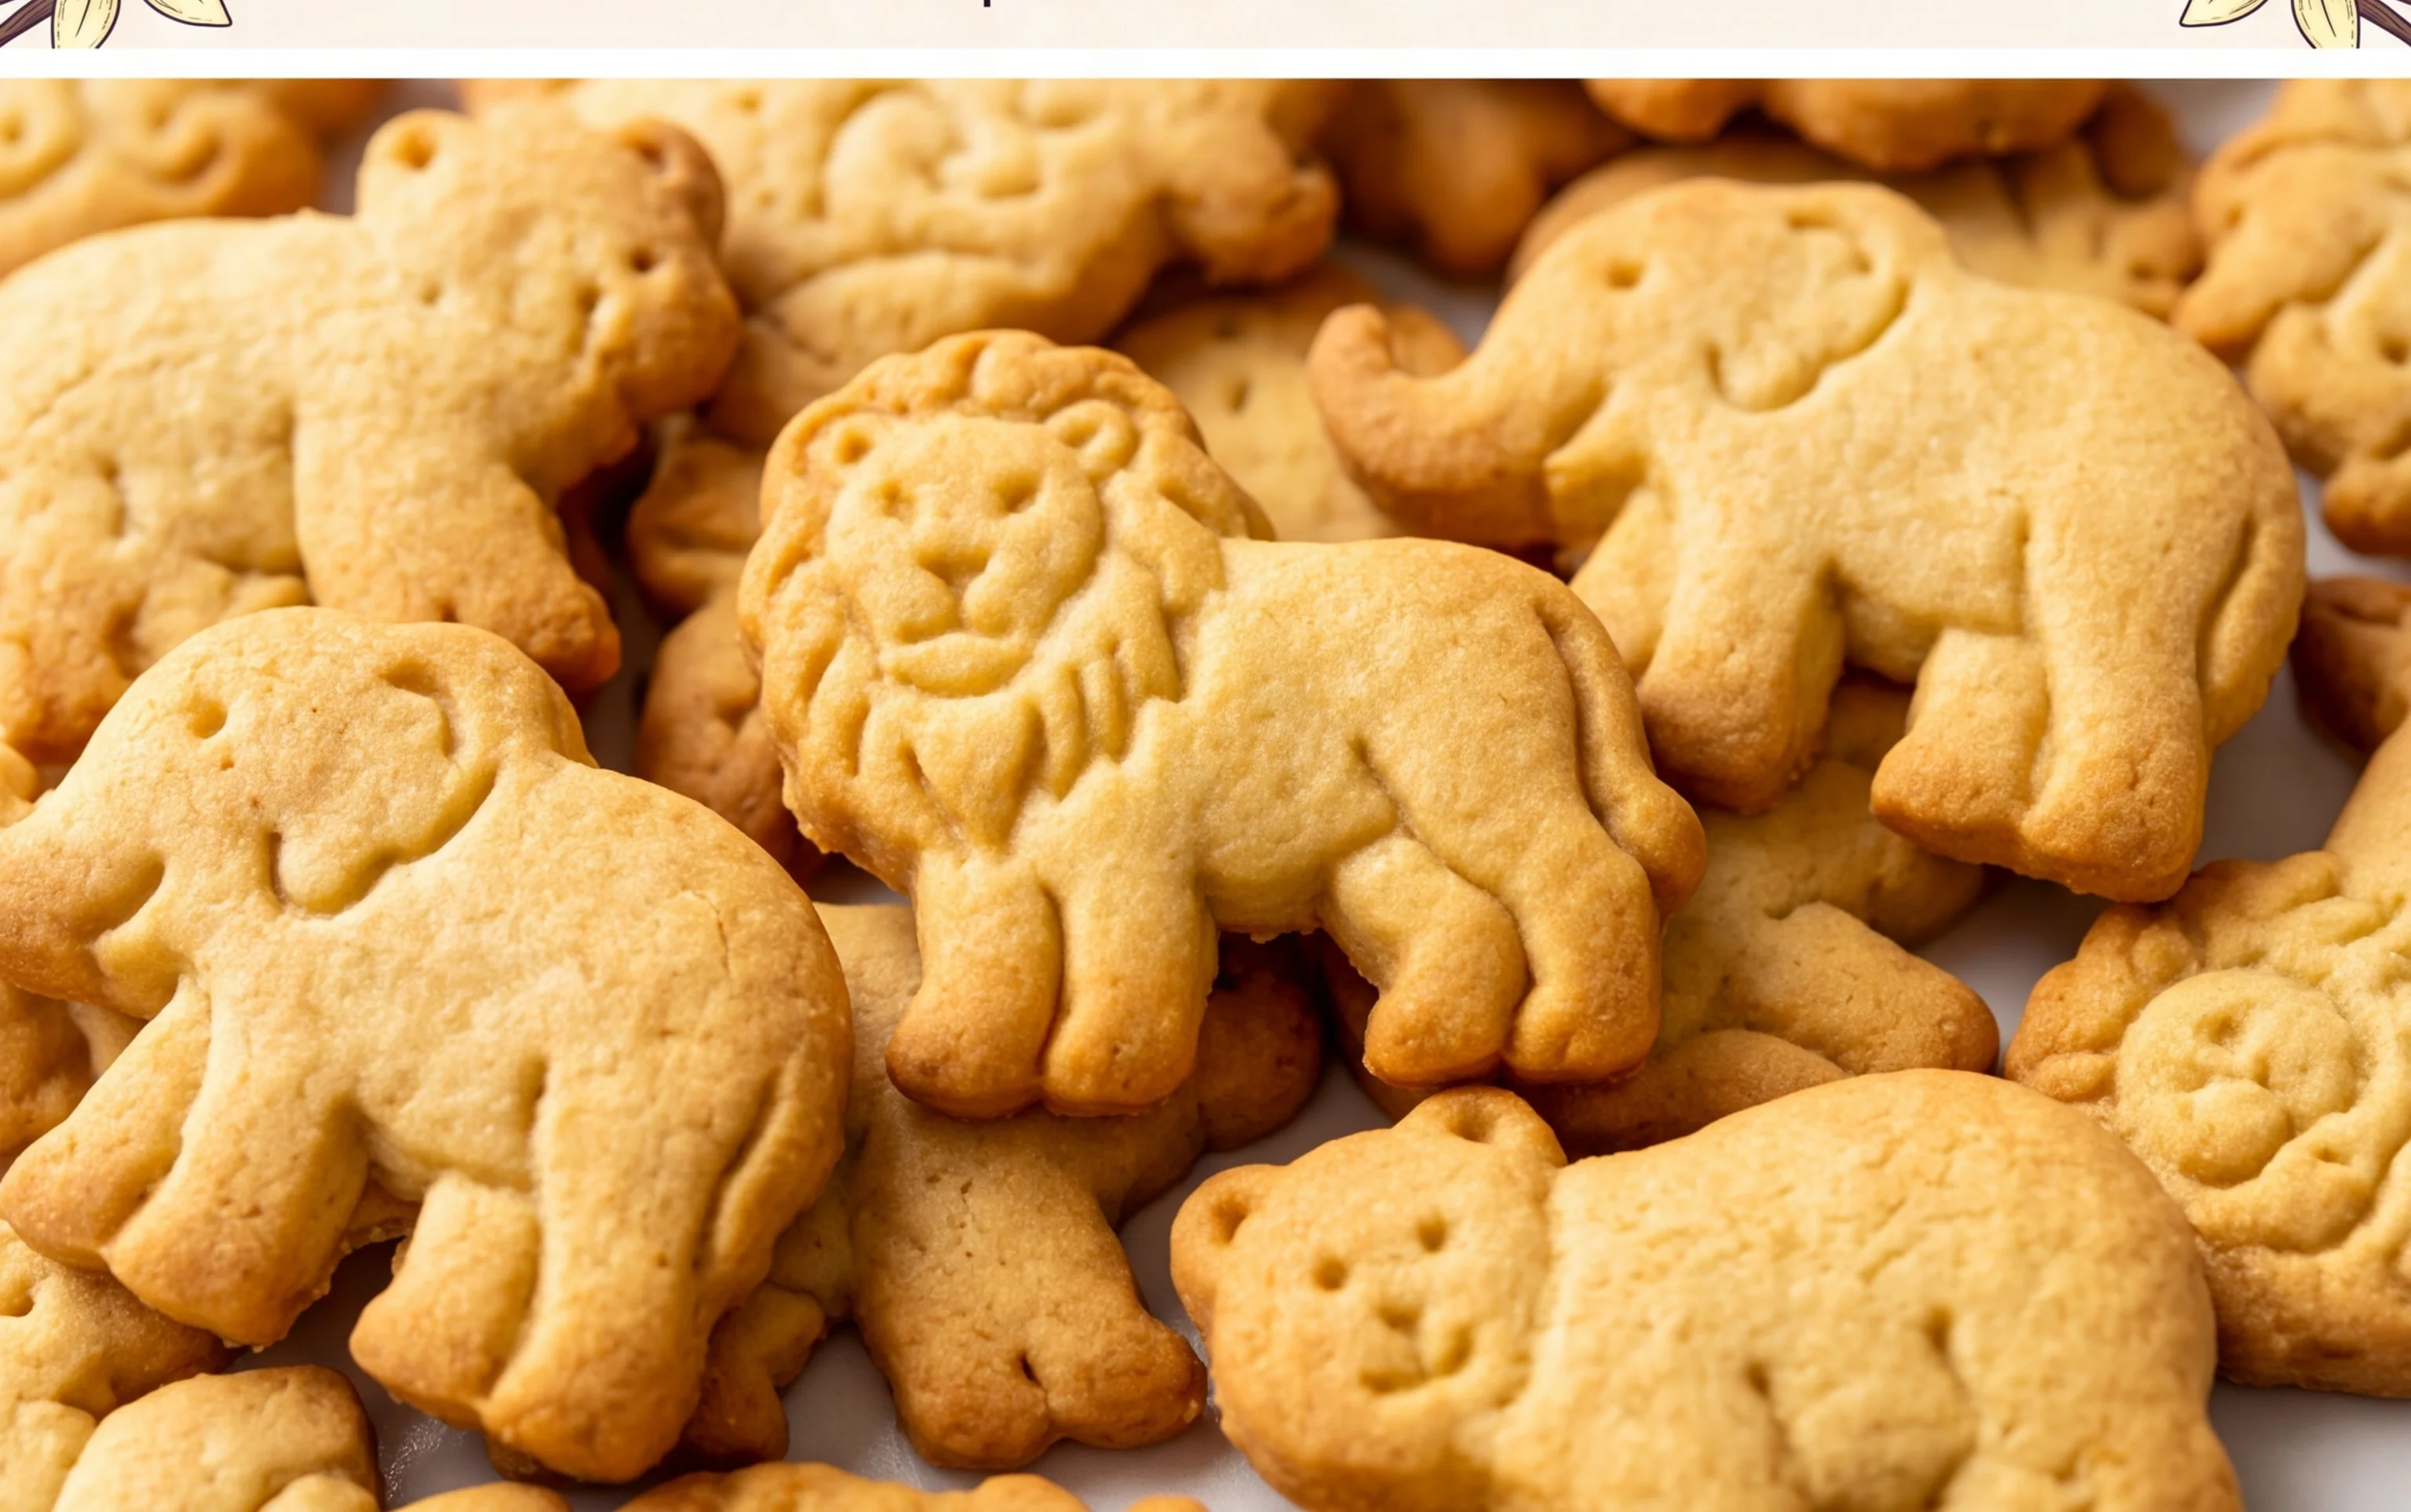
Conclusion:
These Mini Animal Cracker Cookies are an absolute delight, offering a perfect balance of buttery, slightly sweet cookie with that satisfying crunch and fun animal cracker flavor we all know and love. They are incredibly simple to whip up, making them ideal for spontaneous baking sessions or for involving little helpers in the kitchen. The versatility of this recipe is a huge part of its charm; whether you’re decorating them for a themed party, adding them to a dessert platter, or simply enjoying them with a glass of milk, they’re sure to be a hit. I encourage you to give these adorable Mini Animal Cracker Cookies a try – they’re guaranteed to bring smiles!
For serving, consider pairing them with ice cream for a fun sundae experience, or arrange them artfully on a cookie board alongside other sweet treats. They also make fantastic edible gifts, especially when packaged in cute cellophane bags.
When it comes to variations, don’t be afraid to experiment! You can try adding a touch of cinnamon to the dough for a warmer flavor, or even a hint of almond extract. For an extra festive touch, dip the cooled cookies halfway into melted chocolate and sprinkle with colorful nonpareils.
Frequently Asked Questions:
Can I use regular animal crackers instead of mini ones?
Absolutely! While the “mini” aspect adds to the cuteness, you can certainly crush regular-sized animal crackers to achieve a similar flavor profile. Just ensure they are crushed finely enough to integrate well into the cookie dough.
How long do these cookies stay fresh?
Stored in an airtight container at room temperature, these Mini Animal Cracker Cookies will stay delightfully fresh for about 3-4 days. They might lose a tiny bit of their crispness towards the end, but they’ll still be delicious!
Are these cookies safe for young children to make?
Yes, with adult supervision! The steps are straightforward, and children will love the process of crushing the crackers and shaping the dough. It’s a wonderful way to introduce them to baking.
Mini Animal Cracker Cookies
Delightful mini cookies shaped and flavored like classic animal crackers, perfect for any celebration.
Ingredients
-
2 and 1/4 cups (281g) all-purpose flour, plus more as needed for rolling and work surface
-
1 teaspoon ground cinnamon
-
1/2 teaspoon baking powder
-
1/4 teaspoon salt
-
3/4 cup (12 Tbsp; 170g) unsalted butter, softened to room temperature
-
3/4 cup (150g) granulated sugar
-
1 large egg, at room temperature
-
1 and 1/2 teaspoons pure vanilla extract
-
Royal Icing or Easy Cookie Icing
-
optional: food coloring
-
rainbow sprinkles
Instructions
-
Step 1
In a medium bowl, whisk together the flour, cinnamon, baking powder, and salt. -
Step 2
In a large bowl, cream together the softened butter and granulated sugar until light and fluffy. -
Step 3
Beat in the egg and vanilla extract until well combined. -
Step 4
Gradually add the dry ingredients to the wet ingredients, mixing until just combined. The dough will be stiff. -
Step 5
Divide the dough in half. On a lightly floured surface, roll out one half to about 1/4-inch thickness. Use mini animal cracker cookie cutters to cut out shapes. Repeat with the remaining dough. -
Step 6
Place the cookies on a baking sheet lined with parchment paper. Chill for 15 minutes. -
Step 7
Bake in a preheated oven at 350°F (175°C) for 8-10 minutes, or until the edges are lightly golden. -
Step 8
Let the cookies cool on the baking sheet for a few minutes before transferring them to a wire rack to cool completely. -
Step 9
Decorate with royal icing or cookie icing, food coloring if desired, and rainbow sprinkles.
Important Information
Nutrition Facts (Per Serving)
It is important to consider this information as approximate and not to use it as definitive health advice.
Allergy Information
Please check ingredients for potential allergens and consult a health professional if in doubt.


