Easy Refrigerator Garlic Dill Pickles Recipe
Warning: Undefined variable $post in /home/recipestorm.com/public_html/wp-content/themes/restored316-limoncella/functions.php on line 143
How to Make Refrigerator Garlic Dill Pickles: Are you ready to unlock the secret to the crispiest, most flavorful pickles you’ve ever tasted? Forget those soggy store-bought versions; we’re diving headfirst into the world of homemade goodness! There’s something incredibly satisfying about the tangy crunch of a perfectly brined cucumber, bursting with the zesty punch of dill and the pungent aroma of fresh garlic. These refrigerator garlic dill pickles are a staple for a reason – they elevate everything from sandwiches to charcuterie boards with their bright, refreshing taste. What makes these refrigerator garlic dill pickles truly special is their simplicity. You don’t need fancy equipment or a long canning process; just a few fresh ingredients and a little patience are all it takes to create a jar of pure pickle perfection right in your own kitchen. Get ready to impress yourself and everyone lucky enough to snag one of these delicious treats!
Refrigerator Garlic Dill Pickles
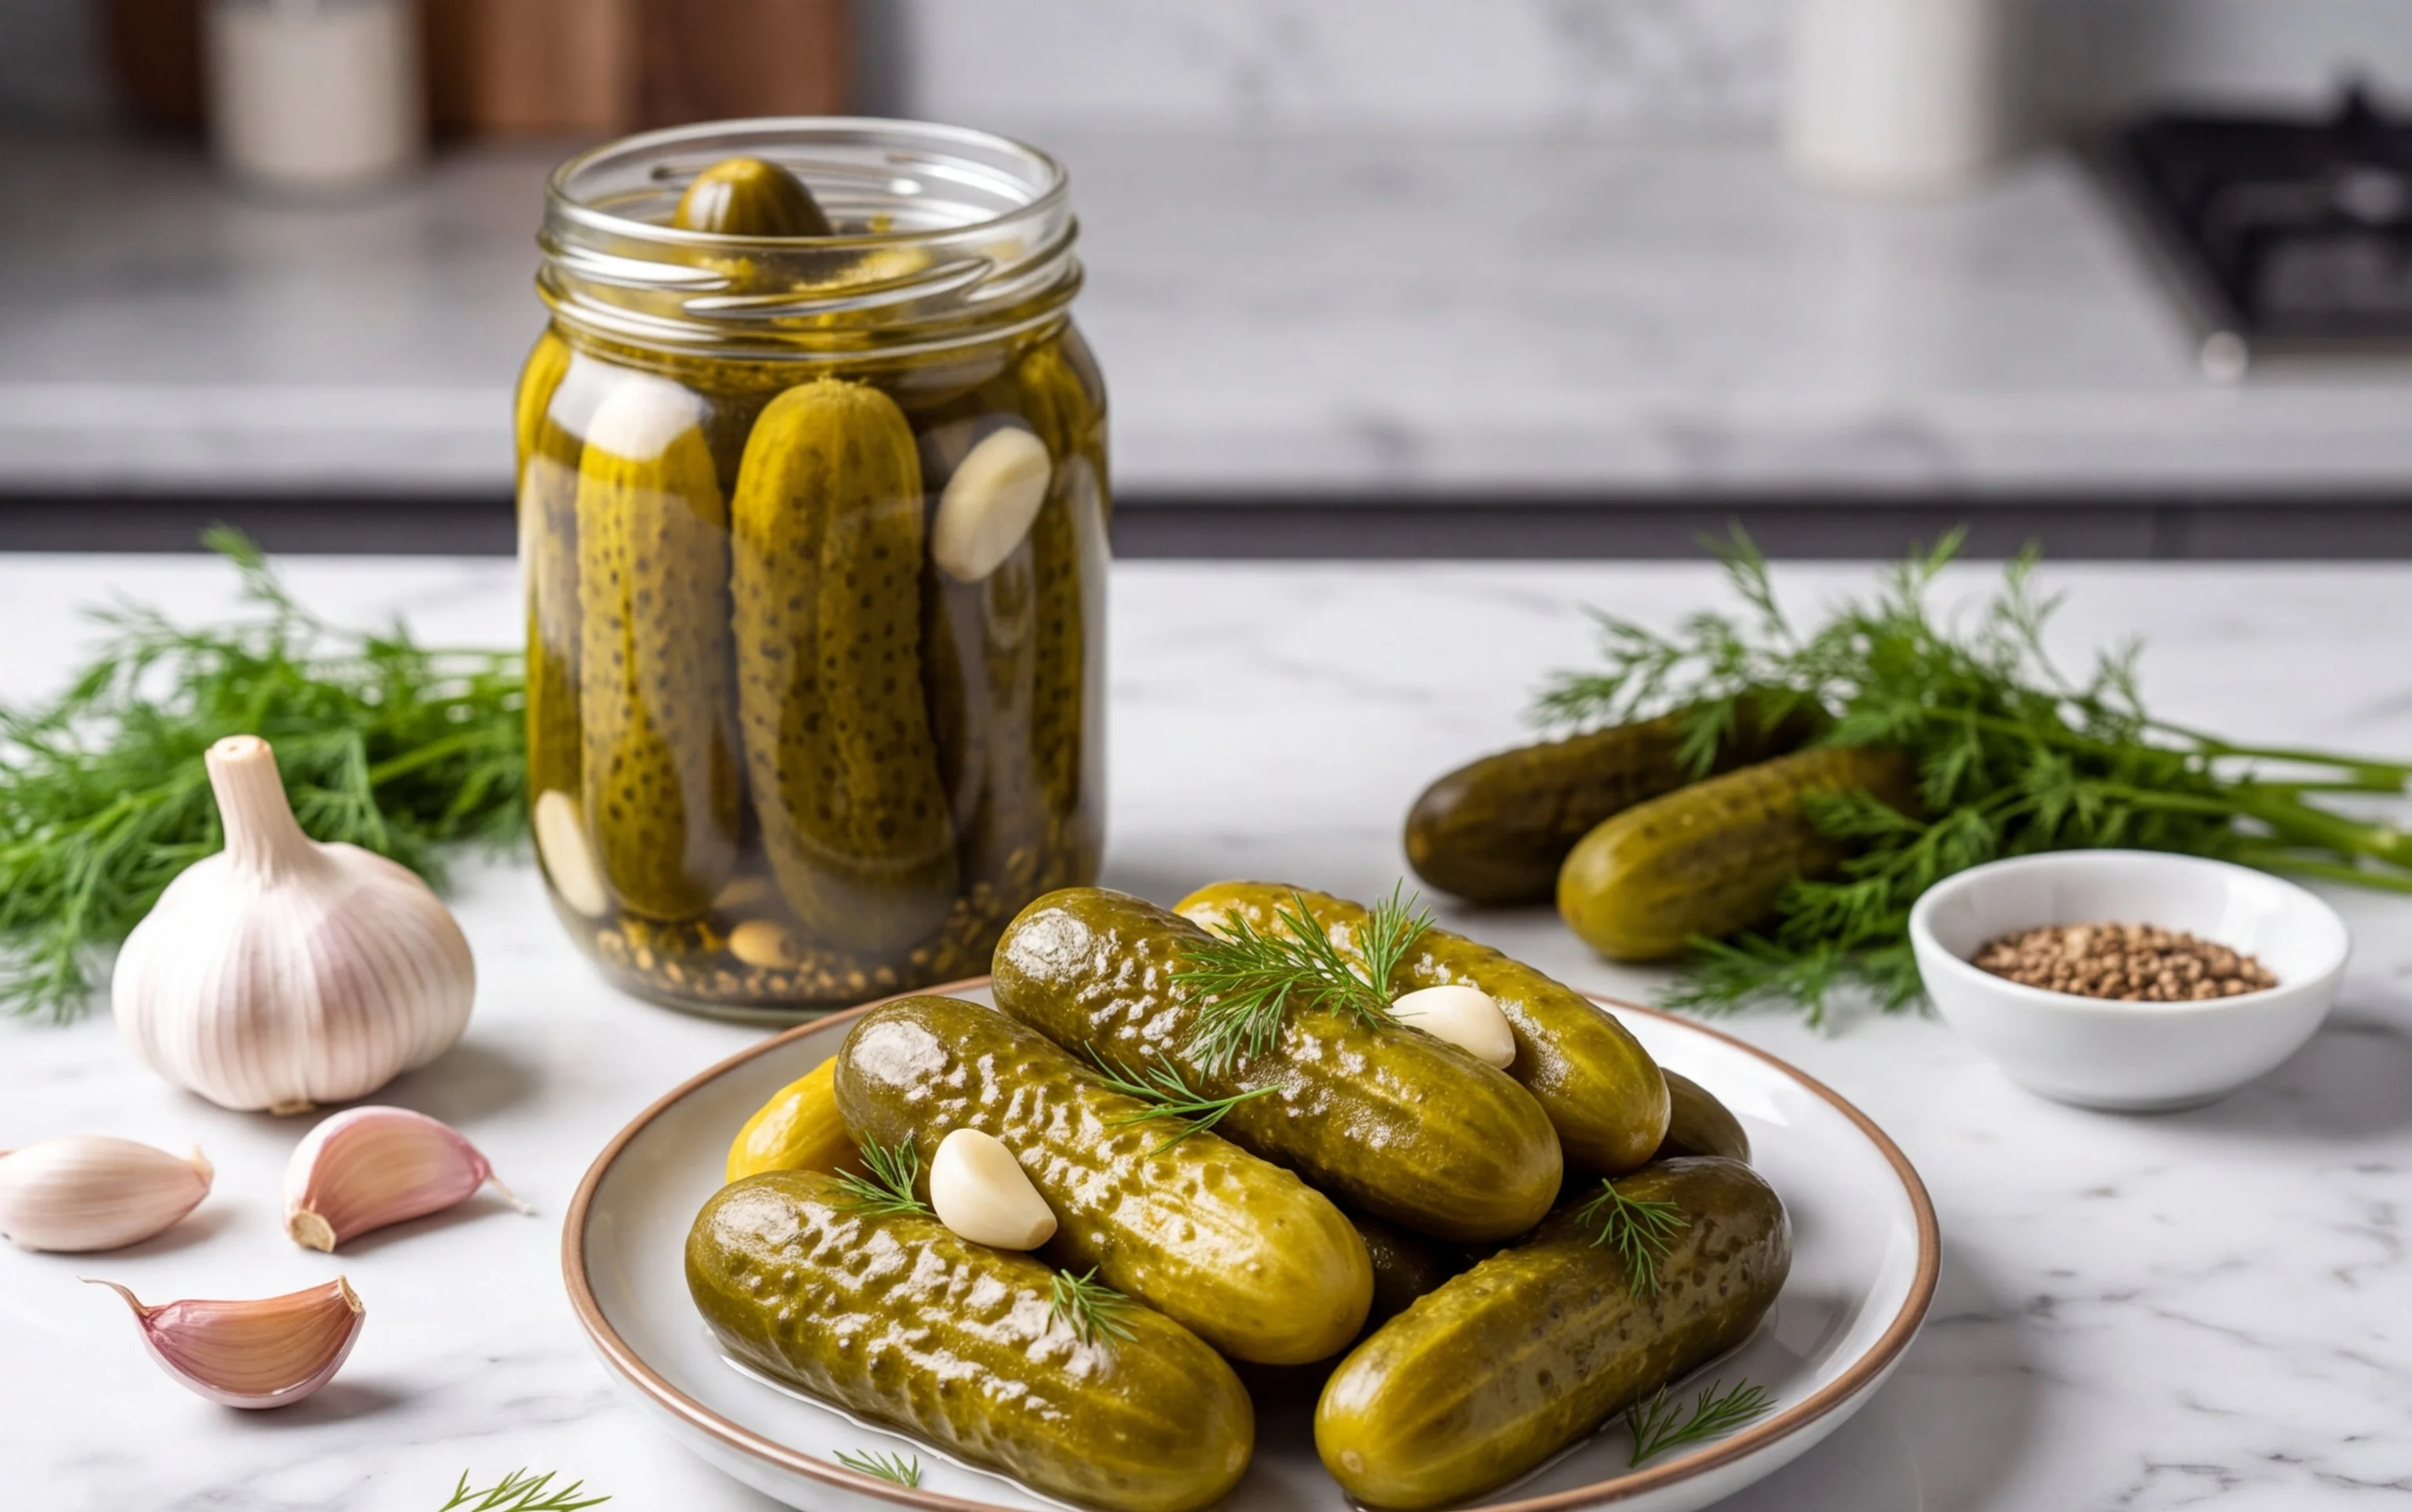
There’s something incredibly satisfying about the crisp crunch and zesty tang of homemade pickles. Forget those sad, soggy store-bought versions; with just a few simple ingredients and a bit of patience, you can transform humble cucumbers into jars of delicious refrigerator garlic dill pickles. These are not your grandmother’s canned pickles, requiring no special equipment or heat processing. Instead, they are quick to assemble and rely on refrigeration to work their magic, infusing the cucumbers with bright, briny flavor. Perfect for sandwiches, burgers, or just snacking straight from the jar, these pickles are a game-changer for any pickle lover. Let’s dive in and create some culinary magic in your own kitchen!
Ingredients:
- 2 lbs. kirby or other pickling cucumbers
- 2 cups water (unfiltered untreated water is highly recommended)
- 1 cup 5% white vinegar
- 1 tablespoons pickling salt
- 2 cloves garlic (peeled)
- 4 sprigs sprigs of fresh dill per jar
- 1 teaspoon black peppercorns (or pickling spice)
- 1/2 teaspoon hot pepper flakes (adjust for personal taste)
Preparing Your Cucumbers and Jars
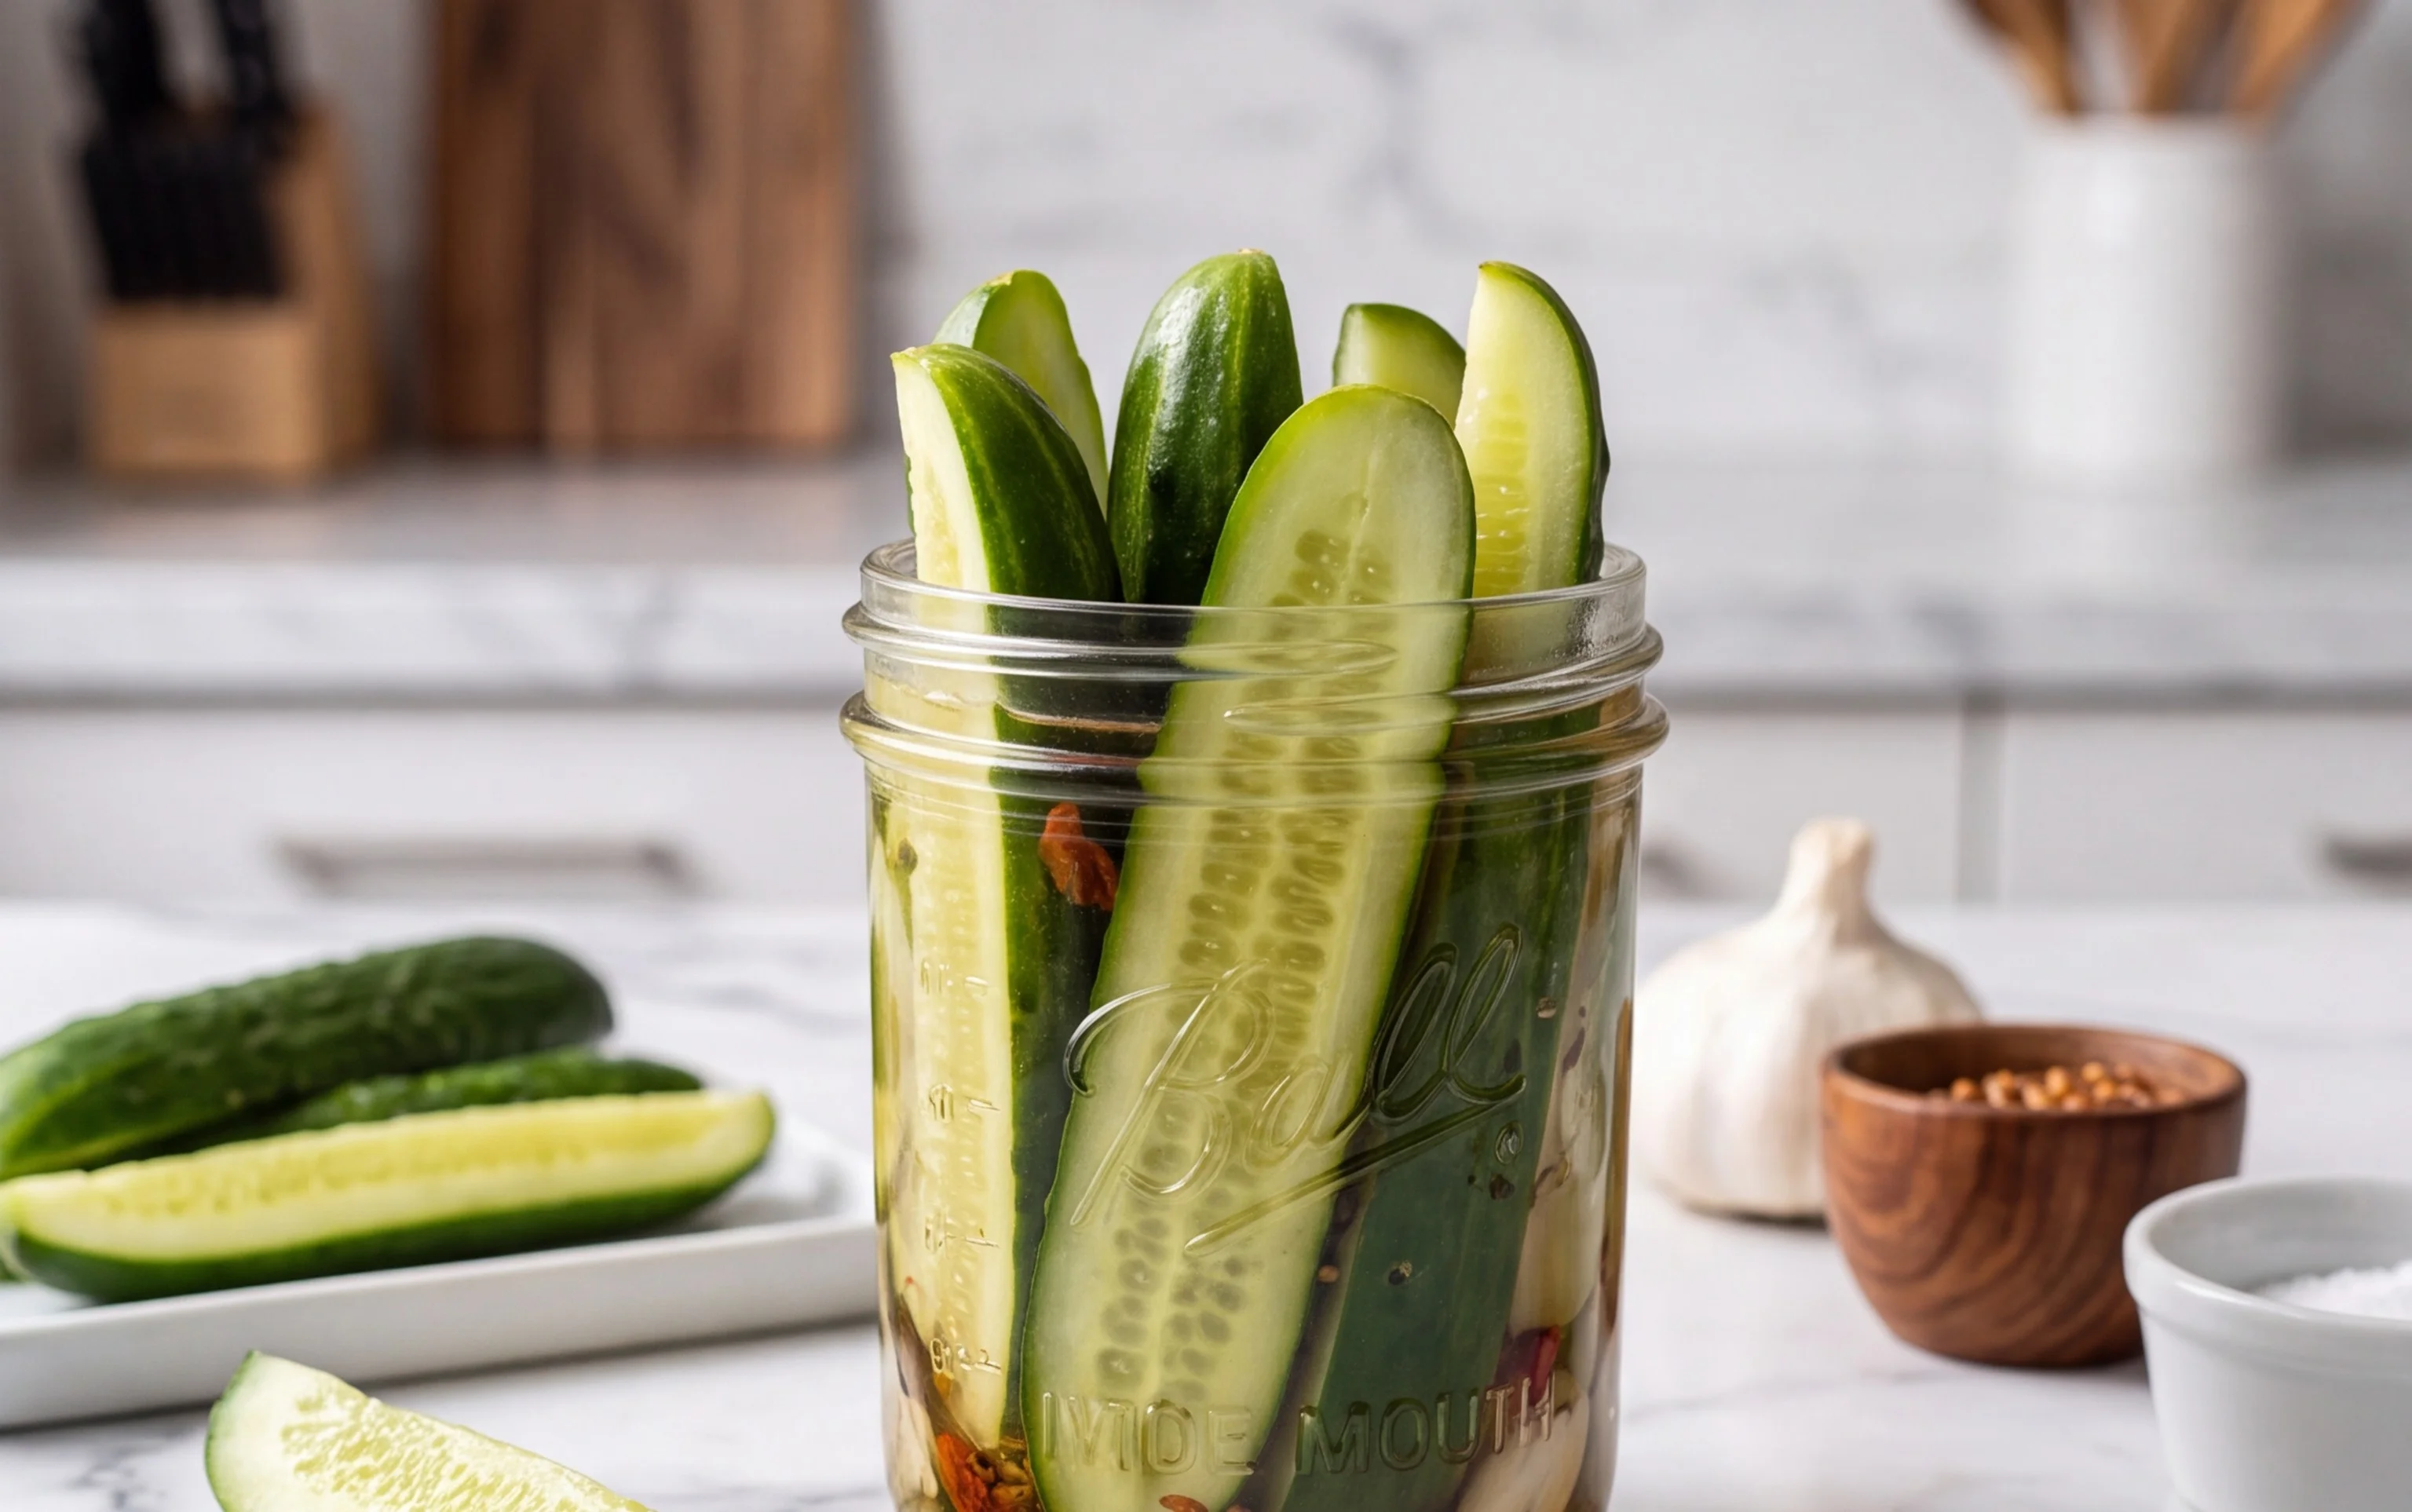
The first step to perfect refrigerator pickles is selecting the right cucumbers. Kirby cucumbers are ideal due to their firm texture and small seeds, which prevent them from becoming mushy. If you can’t find kirbys, any small, firm pickling cucumber will do. Wash your cucumbers thoroughly under cool running water, scrubbing away any dirt. For that classic pickle shape and texture, you can either leave them whole if they are small enough to fit snugly in your jars, or cut them into spears or slices. Spears offer a satisfying heft, while slices are perfect for topping sandwiches.
While your cucumbers are drying, it’s time to prepare your jars. For this recipe, we’ll be using 1-quart jars, and you’ll likely need 2 to 3 of them depending on how you pack your cucumbers. Sterilizing your jars is a good practice to ensure a clean environment for your pickles, even though we aren’t canning. You can do this by washing them thoroughly in hot, soapy water and then rinsing them well. Alternatively, you can run them through a hot dishwasher cycle or place them in a 250°F (120°C) oven for about 15 minutes. Make sure to handle the hot jars with oven mitts.
Crafting the Brine
The heart of any good pickle lies in its brine. This is where the flavor magic happens! In a medium saucepan, combine the 2 cups of water and 1 cup of 5% white vinegar. Using unfiltered, untreated water is highly recommended as it contains beneficial minerals that can contribute to a better pickle flavor and texture. White vinegar with a 5% acidity is crucial for both flavor and preservation.
Add the 1 tablespoon of pickling salt to the water and vinegar mixture. Pickling salt is important because it is pure salt without any anti-caking agents or iodine, which can make your brine cloudy and affect the pickle’s appearance. Stir the mixture over medium heat until the salt is completely dissolved. Do not bring the brine to a boil; we just want the salt to dissolve. Once dissolved, remove the saucepan from the heat and let the brine cool slightly. This is important because adding hot brine to the jars can cause the glass to crack.
Assembling Your Pickles
Now for the fun part: packing your jars! Start by placing the aromatics into the bottom of each clean jar. Divide the 2 peeled cloves of garlic, the 4 sprigs of fresh dill per jar, the 1 teaspoon of black peppercorns (or pickling spice), and the 1/2 teaspoon of hot pepper flakes (remember to adjust this to your spice preference) evenly among your jars. The garlic will infuse a pungent, savory depth, the dill brings its classic pickle aroma, the peppercorns add a subtle warmth, and the pepper flakes provide a welcome kick.
Next, tightly pack your prepared cucumbers into the jars. Try to fit as many as you can without crushing them. The tighter they are packed, the less they will move around in the brine, and the better they will pickle. If you’re using spears, arrange them vertically, and if you’re using slices, pack them in layers. Don’t be afraid to really press them in there; this will ensure you can fit more delicious pickles into each jar.
The Brining and Chilling Process
Once your jars are packed with cucumbers and aromatics, it’s time to pour in that flavorful brine. Carefully pour the slightly cooled brine over the cucumbers, making sure to cover them completely. You want the brine level to reach about half an inch above the cucumbers to ensure they are fully submerged. If you find you don’t have quite enough brine, you can make a quick additional small batch using the same water, vinegar, and salt ratio.
After pouring the brine, gently tap the jars on your countertop a few times to release any trapped air bubbles. You can also use a clean skewer or chopstick to gently move around the cucumbers and dislodge any stubborn air pockets. Securely fasten the lids on your jars. Now, the most crucial step for refrigerator pickles: refrigeration. Place the sealed jars in the refrigerator. The pickles will begin to develop flavor within 24 hours, but for the best taste and texture, allow them to chill for at least 48 to 72 hours before indulging. The longer they sit, the more the flavors will meld and deepen. Your delicious homemade garlic dill pickles are ready to be enjoyed!
Conclusion:
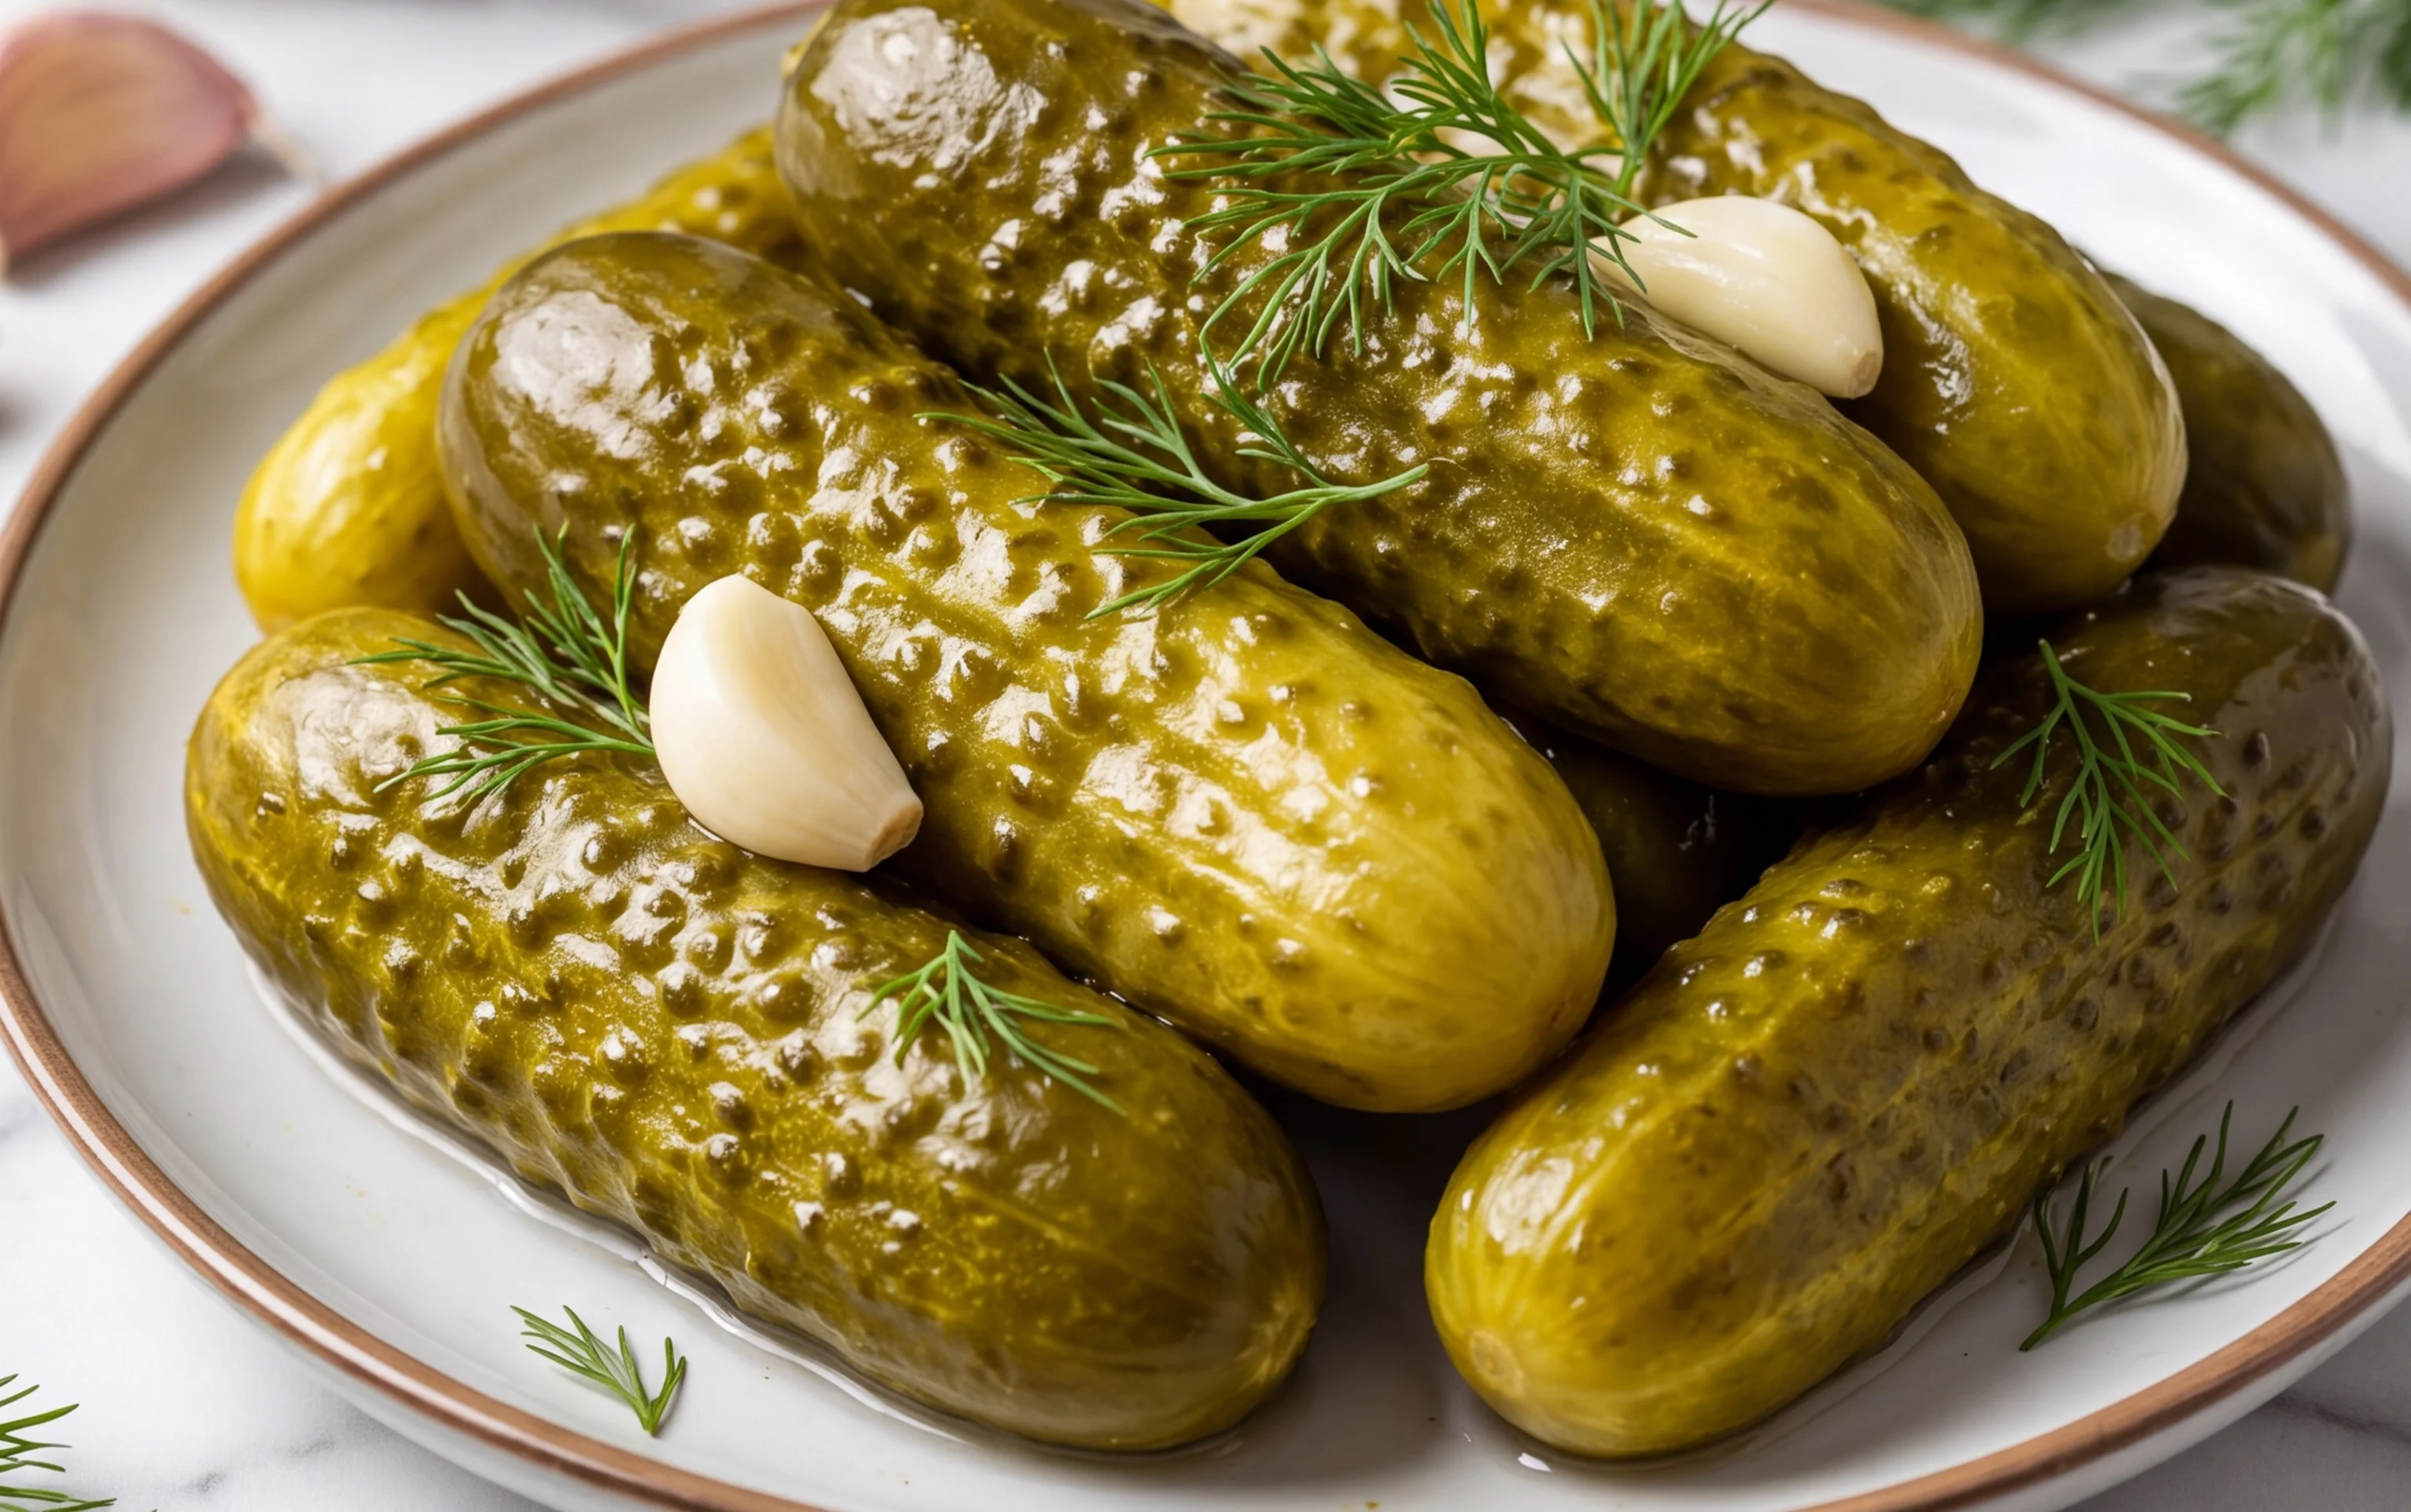
And there you have it! You’ve learned how to make absolutely delicious refrigerator garlic dill pickles right in your own kitchen. What makes this recipe so fantastic is its simplicity and the incredible flavor payoff. These pickles are crisp, tangy, and bursting with that classic dill and garlic goodness, all without the fuss of canning. They transform ordinary meals into something truly special. Imagine adding these homemade gems to your favorite sandwiches, burgers, or simply enjoying them straight from the jar as a refreshing snack.
The beauty of this recipe lies in its versatility. Feel free to experiment with your brine! Want a spicier kick? Add a pinch of red pepper flakes. Prefer a touch of sweetness? A teaspoon of sugar can work wonders. You can also swap out the dill for other herbs like tarragon or add a slice of jalapeño for extra heat. Don’t be afraid to get creative and make these refrigerator garlic dill pickles your own signature treat. I truly encourage you to give this recipe a try; you’ll be amazed at how easy it is to achieve such satisfying results!
Frequently Asked Questions:
How long do refrigerator pickles last?
Refrigerator garlic dill pickles can typically last in your refrigerator for about 2-3 weeks when stored properly in an airtight container. Always check for any signs of spoilage before consuming.
Can I use different types of cucumbers?
Yes, absolutely! While Kirby cucumbers are ideal for their firm texture and few seeds, you can also use Persian or English cucumbers. Just ensure they are fresh and firm for the best results.
Refrigerator Garlic Dill Pickles
Quick and easy homemade garlic dill pickles that are crisp and delicious, made without canning. Perfect for sandwiches and snacking.
Ingredients
-
2 lbs. kirby or other pickling cucumbers
-
2 cups water (unfiltered untreated water is highly recommended)
-
1 cup 5% white vinegar
-
1 tablespoons pickling salt
-
2 cloves garlic (peeled)
-
4 sprigs sprigs of fresh dill per jar
-
1 teaspoon black peppercorns
-
1/2 teaspoon hot pepper flakes
Instructions
-
Step 1
Wash cucumbers thoroughly and trim off the blossom end. Cut cucumbers into desired shapes, such as spears or slices. -
Step 2
In a saucepan, combine water, white vinegar, and pickling salt. Heat gently until the salt is dissolved. Let the brine cool slightly. -
Step 3
Place 1 peeled garlic clove, 2 sprigs of fresh dill, 1/2 teaspoon black peppercorns, and 1/4 teaspoon hot pepper flakes into each clean quart jar. -
Step 4
Pack the cut cucumbers tightly into the jars, leaving about 1/2 inch of headspace. -
Step 5
Pour the slightly cooled brine over the cucumbers, ensuring they are fully submerged. Leave about 1/2 inch of headspace. -
Step 6
Seal the jars tightly with lids and place them in the refrigerator. Pickles will be ready to eat in about 2-3 days, and will continue to develop flavor over time.
Important Information
Nutrition Facts (Per Serving)
It is important to consider this information as approximate and not to use it as definitive health advice.
Allergy Information
Please check ingredients for potential allergens and consult a health professional if in doubt.